April 03, 2018 3 min read 0 Comments

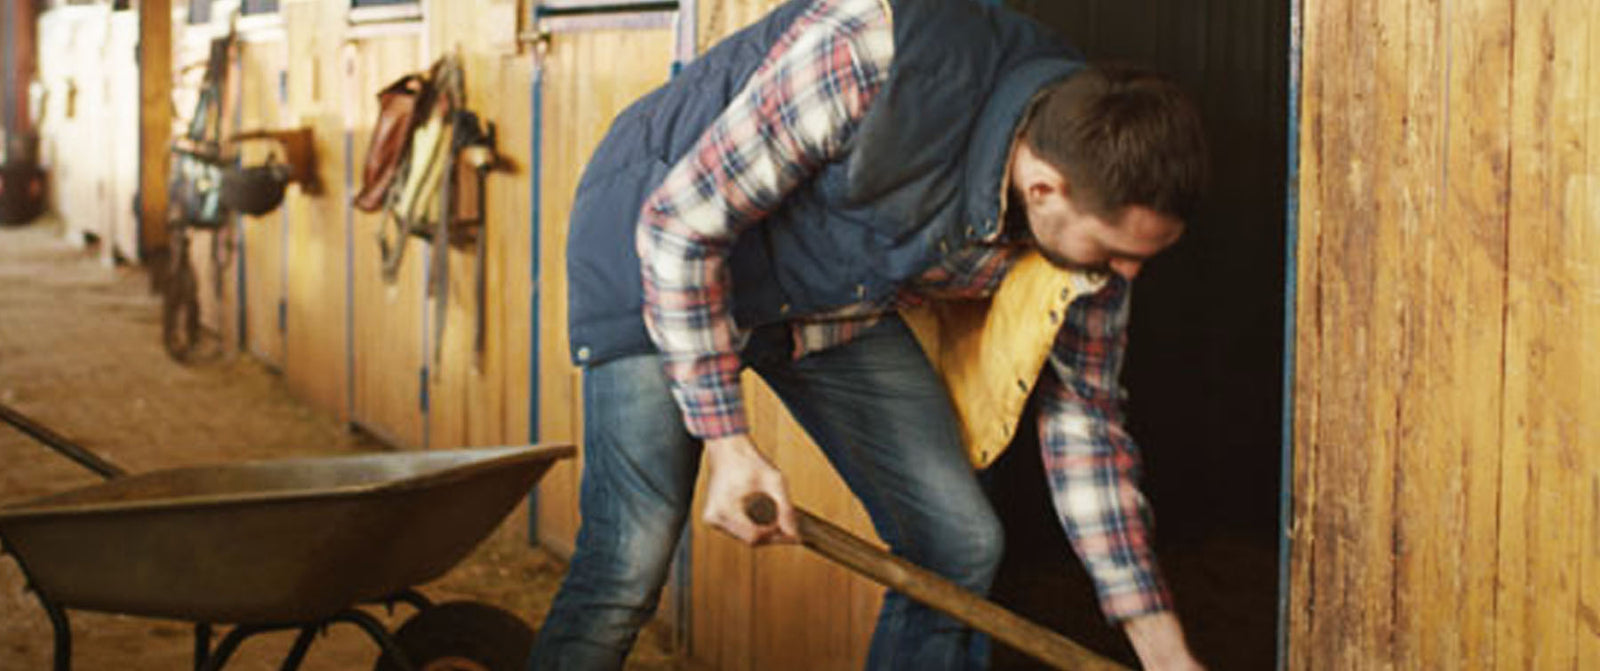
Spring is the perfect time to kick yourself into gear and give your stable the good scrub that's long overdue. The weather will be better, the ground drier and you can get all those necessary maintenance jobs done, that you would usually postpone. A cleaner stable means a healthier horse and a happier you. So here are our tips and ideas on how to make the most out of your spring cleaning.
Firstly, make sure you have all your necessary gear to get cleaning: Brushes, wheelbarrows, a hose, a ladder, disinfectant, buckets, etc. If you can get a pressurised hose, this will dramatically decrease the time it will take you to clean it.
Secondly, remove everything from your stable, even the bedding and rubber matting! If you're going to clean out your stable its best to be thorough.
Start from the top and work your way down, there falls whatever falls down will just be cleaned up later. Start with the rafters and work your way down the walls, clearing cobwebs and dust and removing as much as you can, then move on to the floors, brushing all of the loose dirt, hay, bedding etc. out of the stable, using a dustpan and brush on those particularly tricky corner areas.
Once the floor is clear, disinfect the floor and hose it down removing all the dirt and germs and nasty stuff still laying on the floor, making sure all the disinfectant is rinsed away and then leave it to dry.

Clean down the buckets, water feeders and such using a safe cleaning product, giving them a good scrub to remove germs and stale food from the sides. Then give them a quick rinse down afterwards to remove any leftover cleaning product, and then leave them to dry.
Then on to the glorious job of the rubber matting. Hose it down first to remove any loose dirt and then plug your nose and get scrubbing! Make sure it’s clean and that most of the smell has disappeared. Once you’ve finished scrubbing hose it down once more to remove the dirty water and leave it to dry fully.
Now the best part: Putting everything back inside including fresh bedding and filling your hay net/bag with fresh hay. And that’s it! Step back and check out your fresh clean stable!
Now it’s time to head to your tack and feed areas!
Firstly, and most importantly, in the feed area, dispose of any out of date feed, treats or supplements as using any of these could cause your horse to become ill. Make sure you’re in-date feed is properly sealed and stored away somewhere safe so that nothing can get inside.
Once you’ve checked all your feed and made sure it’s stored correctly, head to your tack area.

First, take all your tack off the shelves and sort it into two sections: Keep and Replace. Give the shelves a dust and a good clean and clean the tack you intend to keep. Put the tack that needs replacing on a different shelf, to keep your good tack and you’re old, worn out or ill-fitting tack separate.
Invest in some small containers to make storing smaller tack easier: one box for bits; a box for lead rope etc. Even larger containers for all your head collars or lead ropes, labelling and organising the boxes will not only look neater but be more practical when trying to find tack in the future.
Finally, go through all your equipment (brushes, hoof picks etc.), making sure that none of it is broken and needs replacing and cleaning any items that are dirty or otherwise would need it. Check your first aid kit too, making sure that it is all in date and that everything you need is there and readily available, in case of emergencies.

February 24, 2025 3 min read 0 Comments
Cats - like dogs and humans - have two kidneys situated in the abdomen close to the spine and last rib. They are vital organs, continually filtering toxins and waste materials from the blood and producing urine to enable those toxins to be excreted from the body.

August 08, 2024 4 min read 0 Comments

August 05, 2024 3 min read 0 Comments